Adding Games to RetroPie
Whether you want to add games for a single system or play everything you can, this article will walk you through the most straightforward way to get your favorite games running.
How to Add Your Games to RetroPie
The easiest way to do this on a Raspberry Pi Zero W is through its single USB port (the same one your controller is currently plugged into).
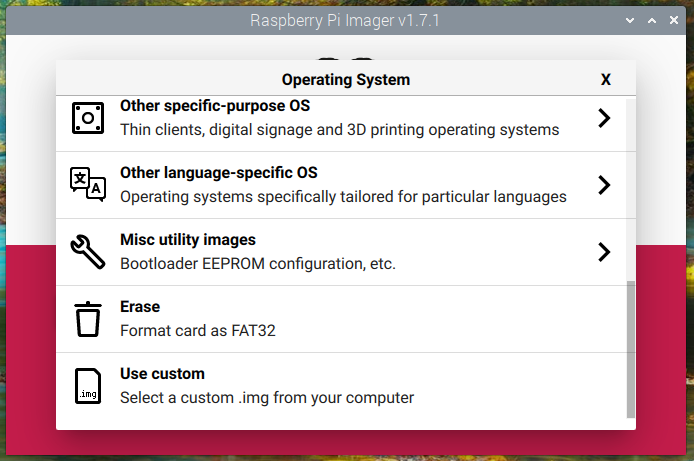
To get started you’ll need that USB thumb drive that was on our list of supplies. Plug that into your PC or Mac for a quick format. Raspberry Pi Imager will make this easy. Under “Choose OS” select “Erase” the caption will inform you that your thumb drive will be formatted as FAT32. Select your thumb drive from the “Storage” option in Raspberry Pi Imager and then select “Write.”
When this has been completed you need to create a folder on your thumb drive and name it retropie. Remove the card from your computer and turn on your Raspberry Pi.

When you are in the menu and looking at the RetroPie Configuration, carefully remove your controller and insert your thumb drive.
Try not to jostle the pi too abruptly or it will crash and reset. Once your thumb drive is plugged in, the Raspberry Pi will add a few folders inside of the retropie folder you created. Give this about five minutes to work, which means you can get another cup of coffee.
You are going to have to time this, once your thumb drive is inserted there will not be any indication on your screen that the pi is doing anything at all, yet it is writing files to your thumb drive. Time it for about five minutes before you remove the card.
When time is up, remove the card from your Pi and return it to your computer. You should discover that inside the retropie folder you created are three new folders BIOS, Configs, and Roms.
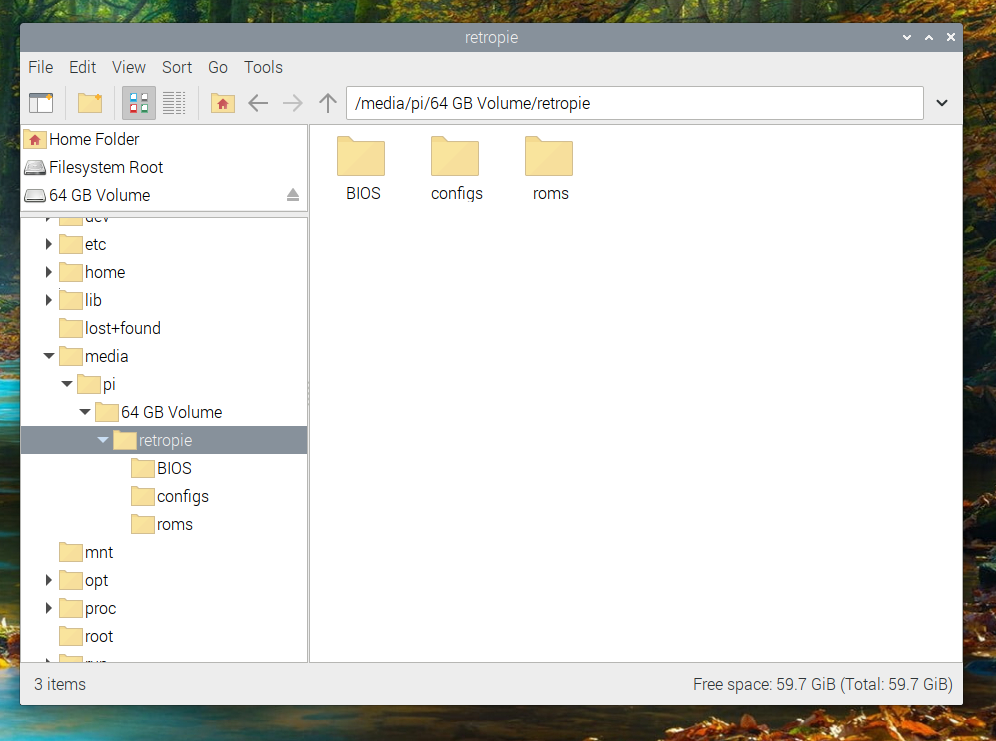
We are only concerned with the Roms folder.
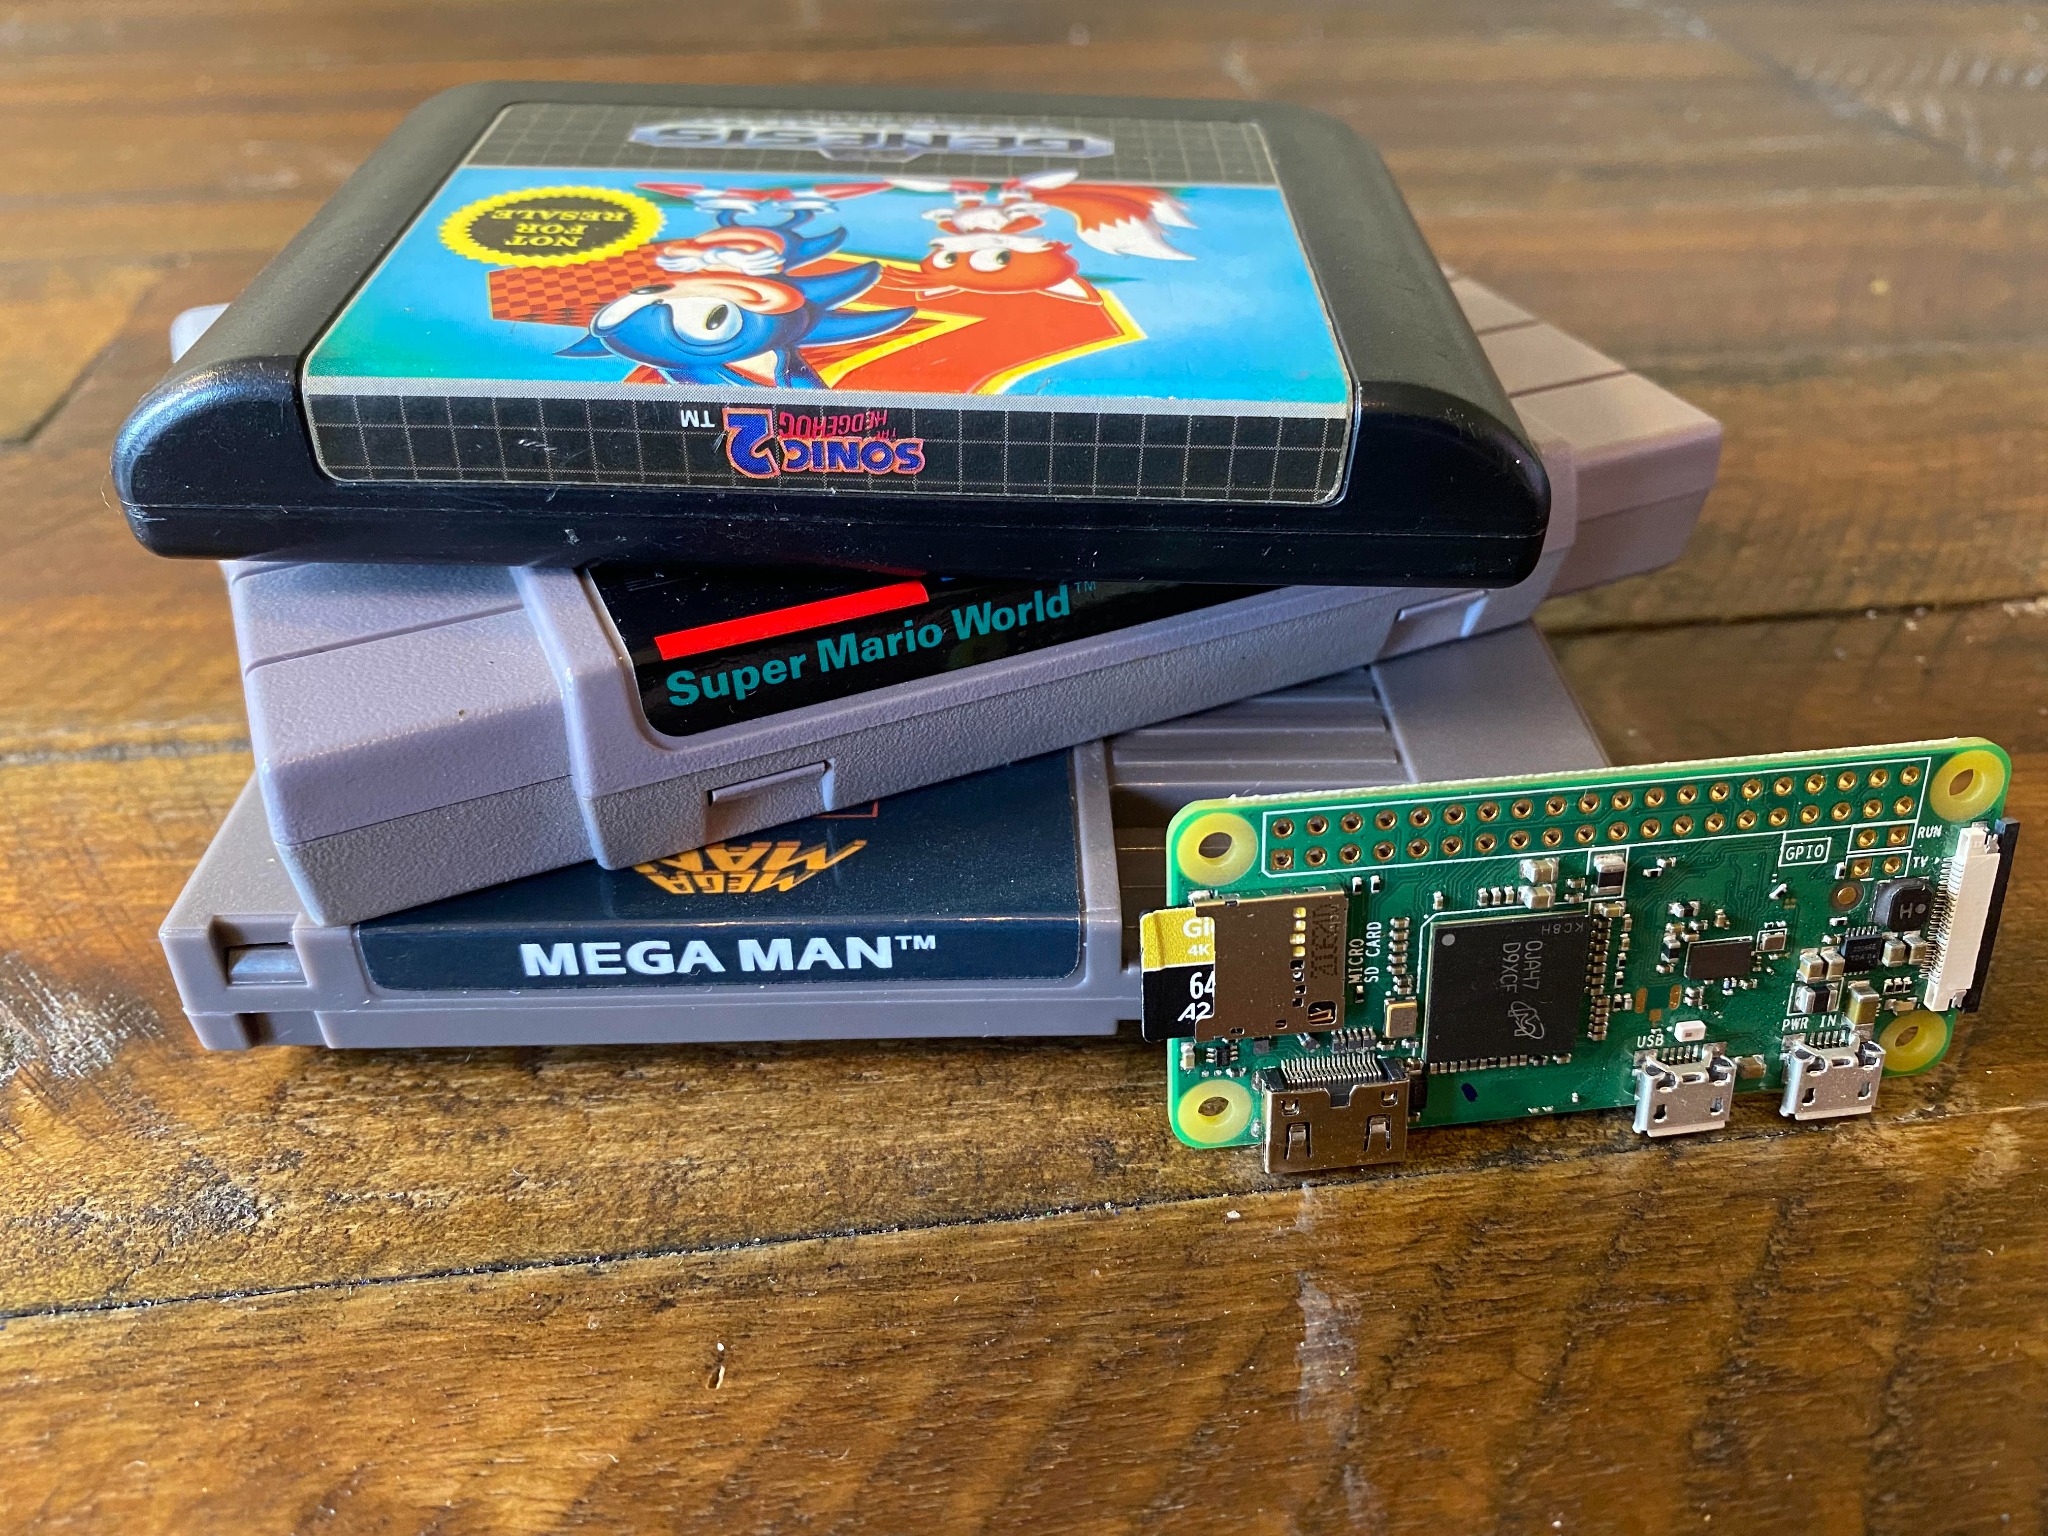
When you open the Roms folder you will see that it is populated with folders for many systems. You should be able to figure out which ROMs go into which folder. Folders like nes will take your Nintendo ROMs, snes will take your Super Nintendo ROMs, gb will take your Gameboy ROMs and megadrive will take your Sega Genesis ROMs.
Place your zipped ROMs (if they are unzipped it’s ok) in their subsequent folders, boot RetroPie back up, and insert your thumb drive once more. Now the Pi will copy the games from your thumb drive into its own folders.
Depending on how many ROMs you are attempting to add (I’d recommend no more than a hundred per system on the Pi Zero W) it could take a while.
As a rule, on the Pi Zero W, I usually give it a half-hour.
So go grab another cup of coffee and relax. Again you’ll have to time this because the Pi will give you no onscreen indication that it is working.
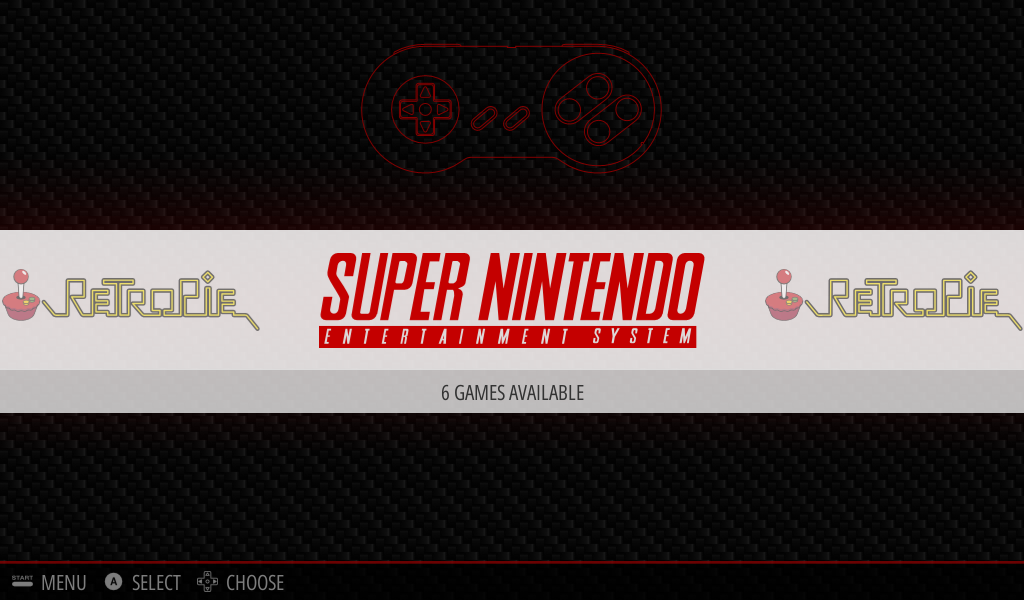
When time is up, remove the thumb drive, reconnect your controller and reset your Pi. When it boots up you will be greeted with a menu populated with all of the systems where you have added ROMs.
 original image belongs to mini-mods.com
As a quick note, RetroPie will automatically select the best emulators for each corresponding system, but if you are playing Sega Genesis games it will ask you to choose your emulator. For the Raspberry Pi Zero W, I recommend “Picodrive.”
YOU DID IT!!!

Congratulations you have done it! You made your very own Retro Video Game Console that goes far beyond anything the NES Classic Edition was ever able of doing. At this point, you could call it quits, start playing Super Mario Bros. and claim victory!
However, there are a few more tweaks we need to make to ensure that the software and emulators on our brand new gaming rig are optimized to give us the best experience possible.
To do this we are going to have to enable WiFi on our Pi and run some updates. We’ll tackle this in our next article.
Post a comment