Installing RetroPie
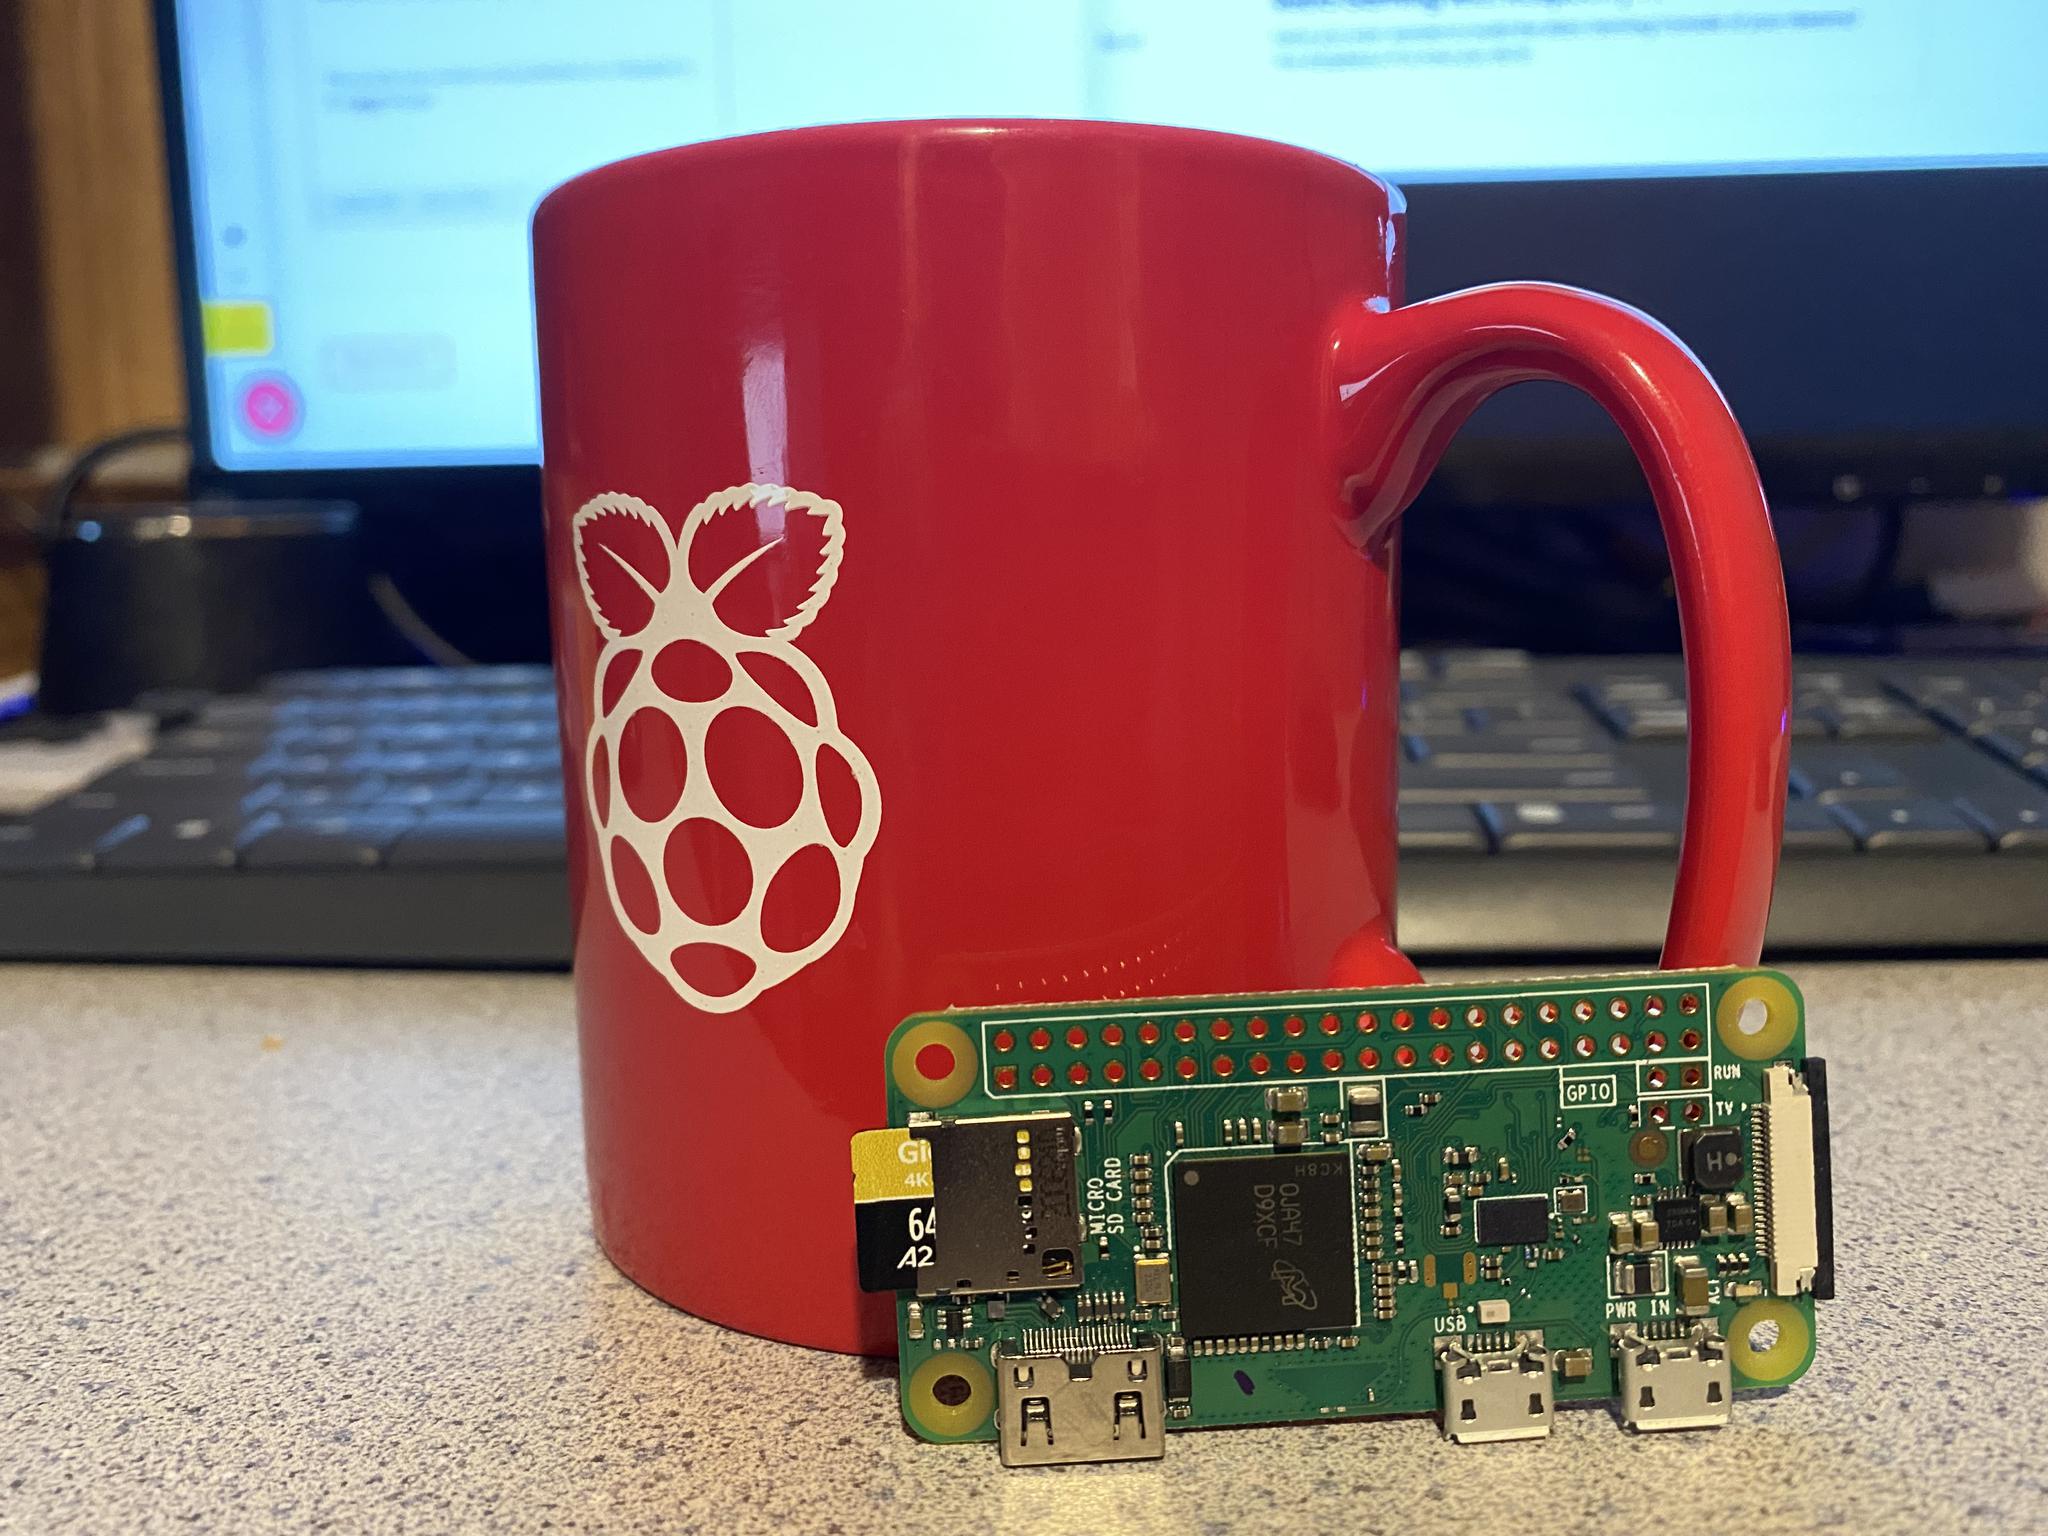
A simple download makes this next step seem effortless by doing all of the work of installing RetroPie for you.
Downloading Raspberry Pi Imager
Once you have collected everything you need to get your retro video game console up and running it's time to install our operating system, which in this case is RetroPie. The most straightforward way to do this is by downloading and installing Raspberry Pi Imager on your PC or Mac.
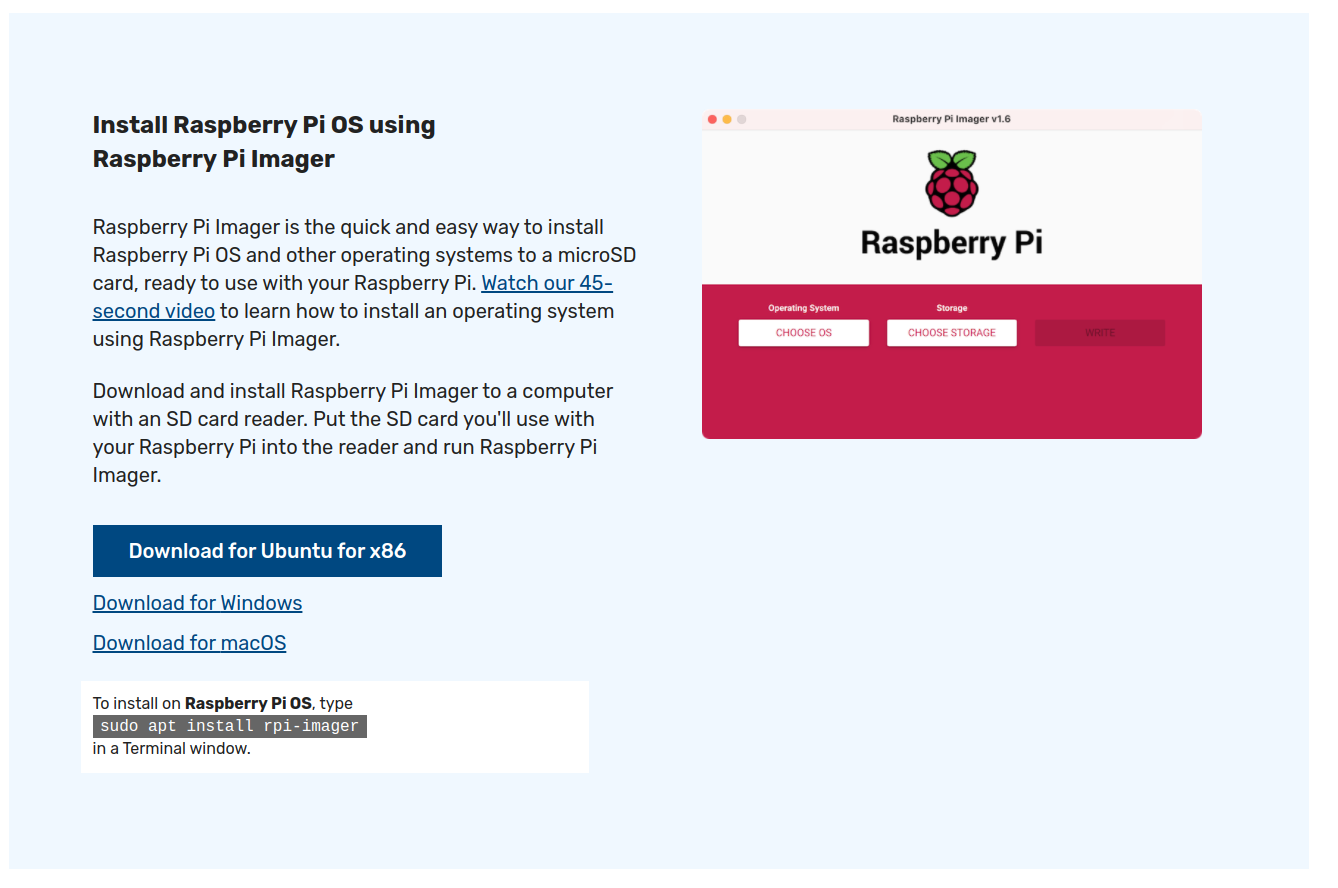
Think of this as your main hub for downloading and installing images for all of your Raspberry Pi needs. For the most part the Imager does all of the work for you, saving you the hassle of using several different programs to download, unzip, and write an image to your micro SD card. Raspberry Pi OS does it all for you making it - One Imager to rule them all!
Writing the RetroPie Image
Once you have downloaded and installed Raspberry Pi Imager insert your Micro SD card into your PC or Mac and open the program.
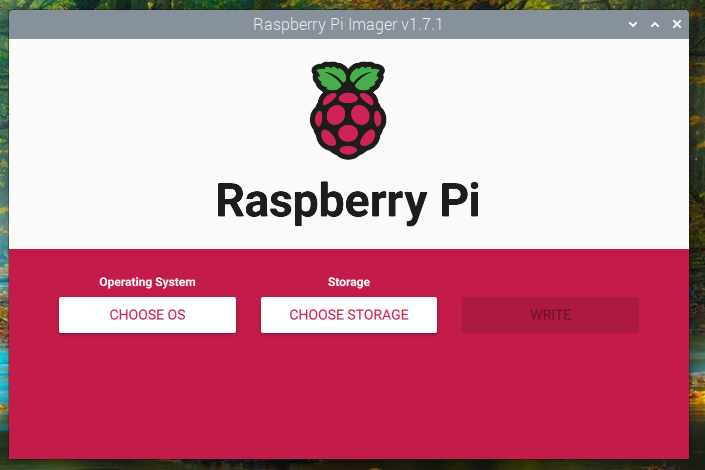
You’ll be greeted to a lovely red and white display showcasing a large raspberry at the top and the words “Raspberry Pi” beneath. Towards the bottom you’ll notice three buttons:
- Choose OS
- Choose Storage
- Write
Choose OS
Start by clicking “Choose OS.” Once you do you’ll see a variety of Operating Systems and their various flavors supported by the installer.
The option we want is titled “Emulation and Game OS” When you click this tab you will be presented with three options: Lakka, Recalbox, or RetroPie. In this case we want RetroPie.
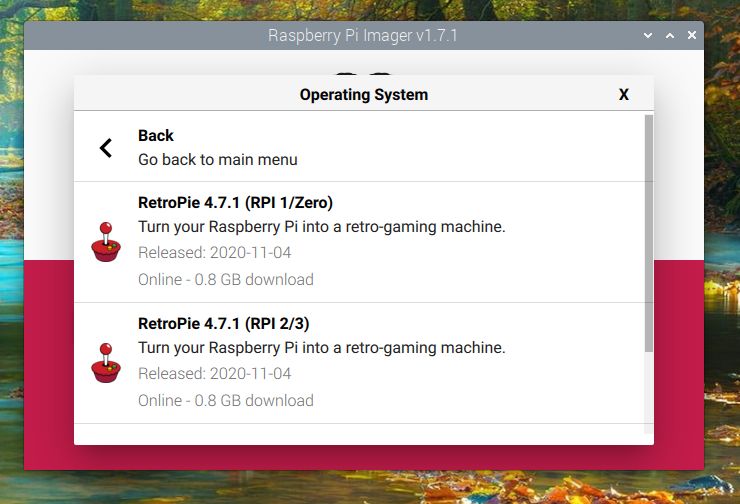
Once you select RetroPie you will be prompted to choose which model of Raspberry Pi you will be installing it on. We want to select the first option: (RPI 1/Zero).
Storage
Once you do this you will be back to the interface with your original three buttons. Select “Storage” and I cannot stress this enough, BE SURE TO SELECT YOUR MEMORY CARD AND NOT ONE OF YOUR COMPUTERS HARD DISK DRIVES!
Picking the wrong drive is far more likely if you are using Etcher or WIN32 Disk Imager, but it only takes a second to double check and will save you a huge headache. I speak from experience, twice.
Your card should be easy to Identify since the Imager will display it by type and size, ex. "SD Card Reader - 31.9 GB."
Write
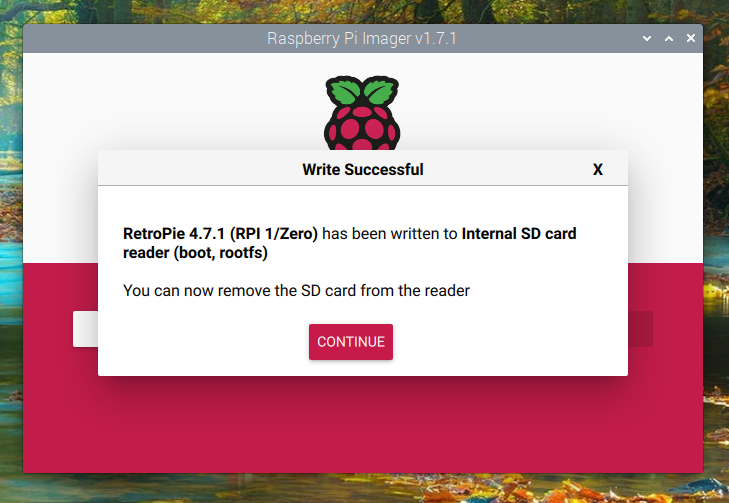
Once you have selected your Micro SD card, the only thing left to do is hit “Write.” You will receive a prompt that all of the contents on your SD card will be erased, and your PC or Mac may ask for your password.
Once you have done this grab yourself a cup of coffee, sit back, relax, and let the Pi Imager do all the work. You’ll receive a notice when it's finished.

For the next article in this series, we’ll boot up RetroPie for the first time and configure your controller.
This article was written and published on a Raspberry Pi 4 8GB Model.
Post a comment