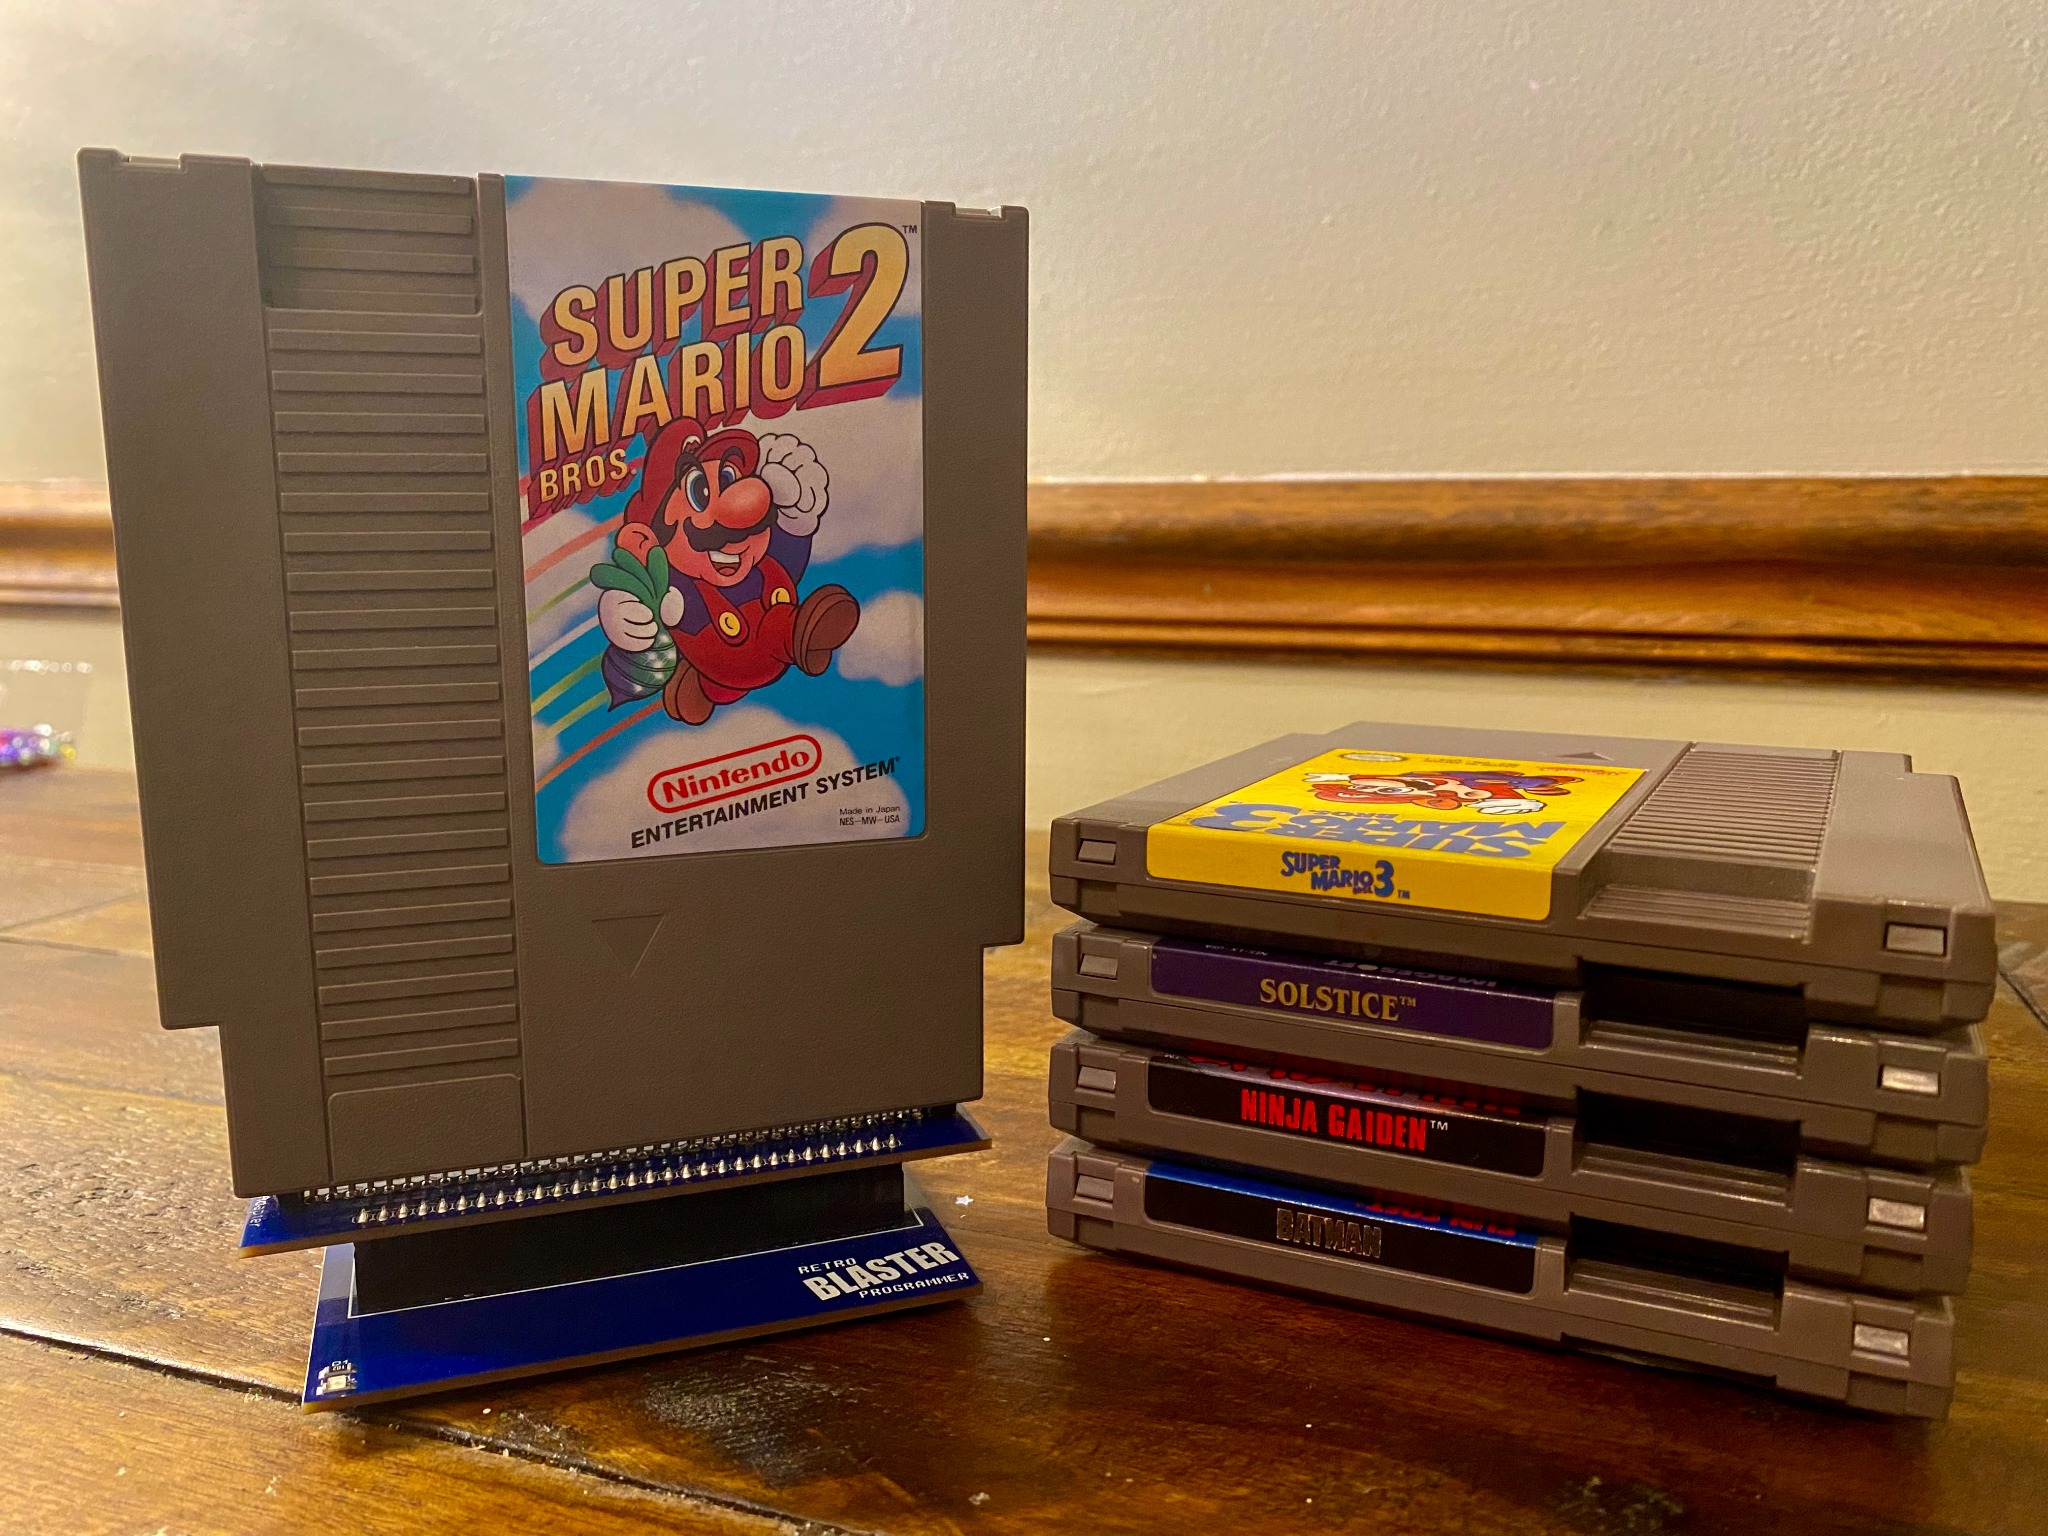
Make Your Own ROMs with the RetroBlaster
Making ROMs from the NES Cartridges we already own sounds a little intimidating.
It's not like we can simply plug an NES game into a PC, pull the ROM off, and then play it. It takes ROM extracting software and some type of cartridge reader.
In addition, every NES game is a little bit different. Each game has a specific mapper which manages the data contained on the cartridge.
Along with a mapper, every cartridge contains its own unique sets of ram and programming chips.
Knowing what mapper and chips your particular cartridge has is vital. It will not be possible to create a working NES ROM without this information.
How Do We Find This Data?
One way to gather the information you need about your game is to manually open and examine its board and chips.
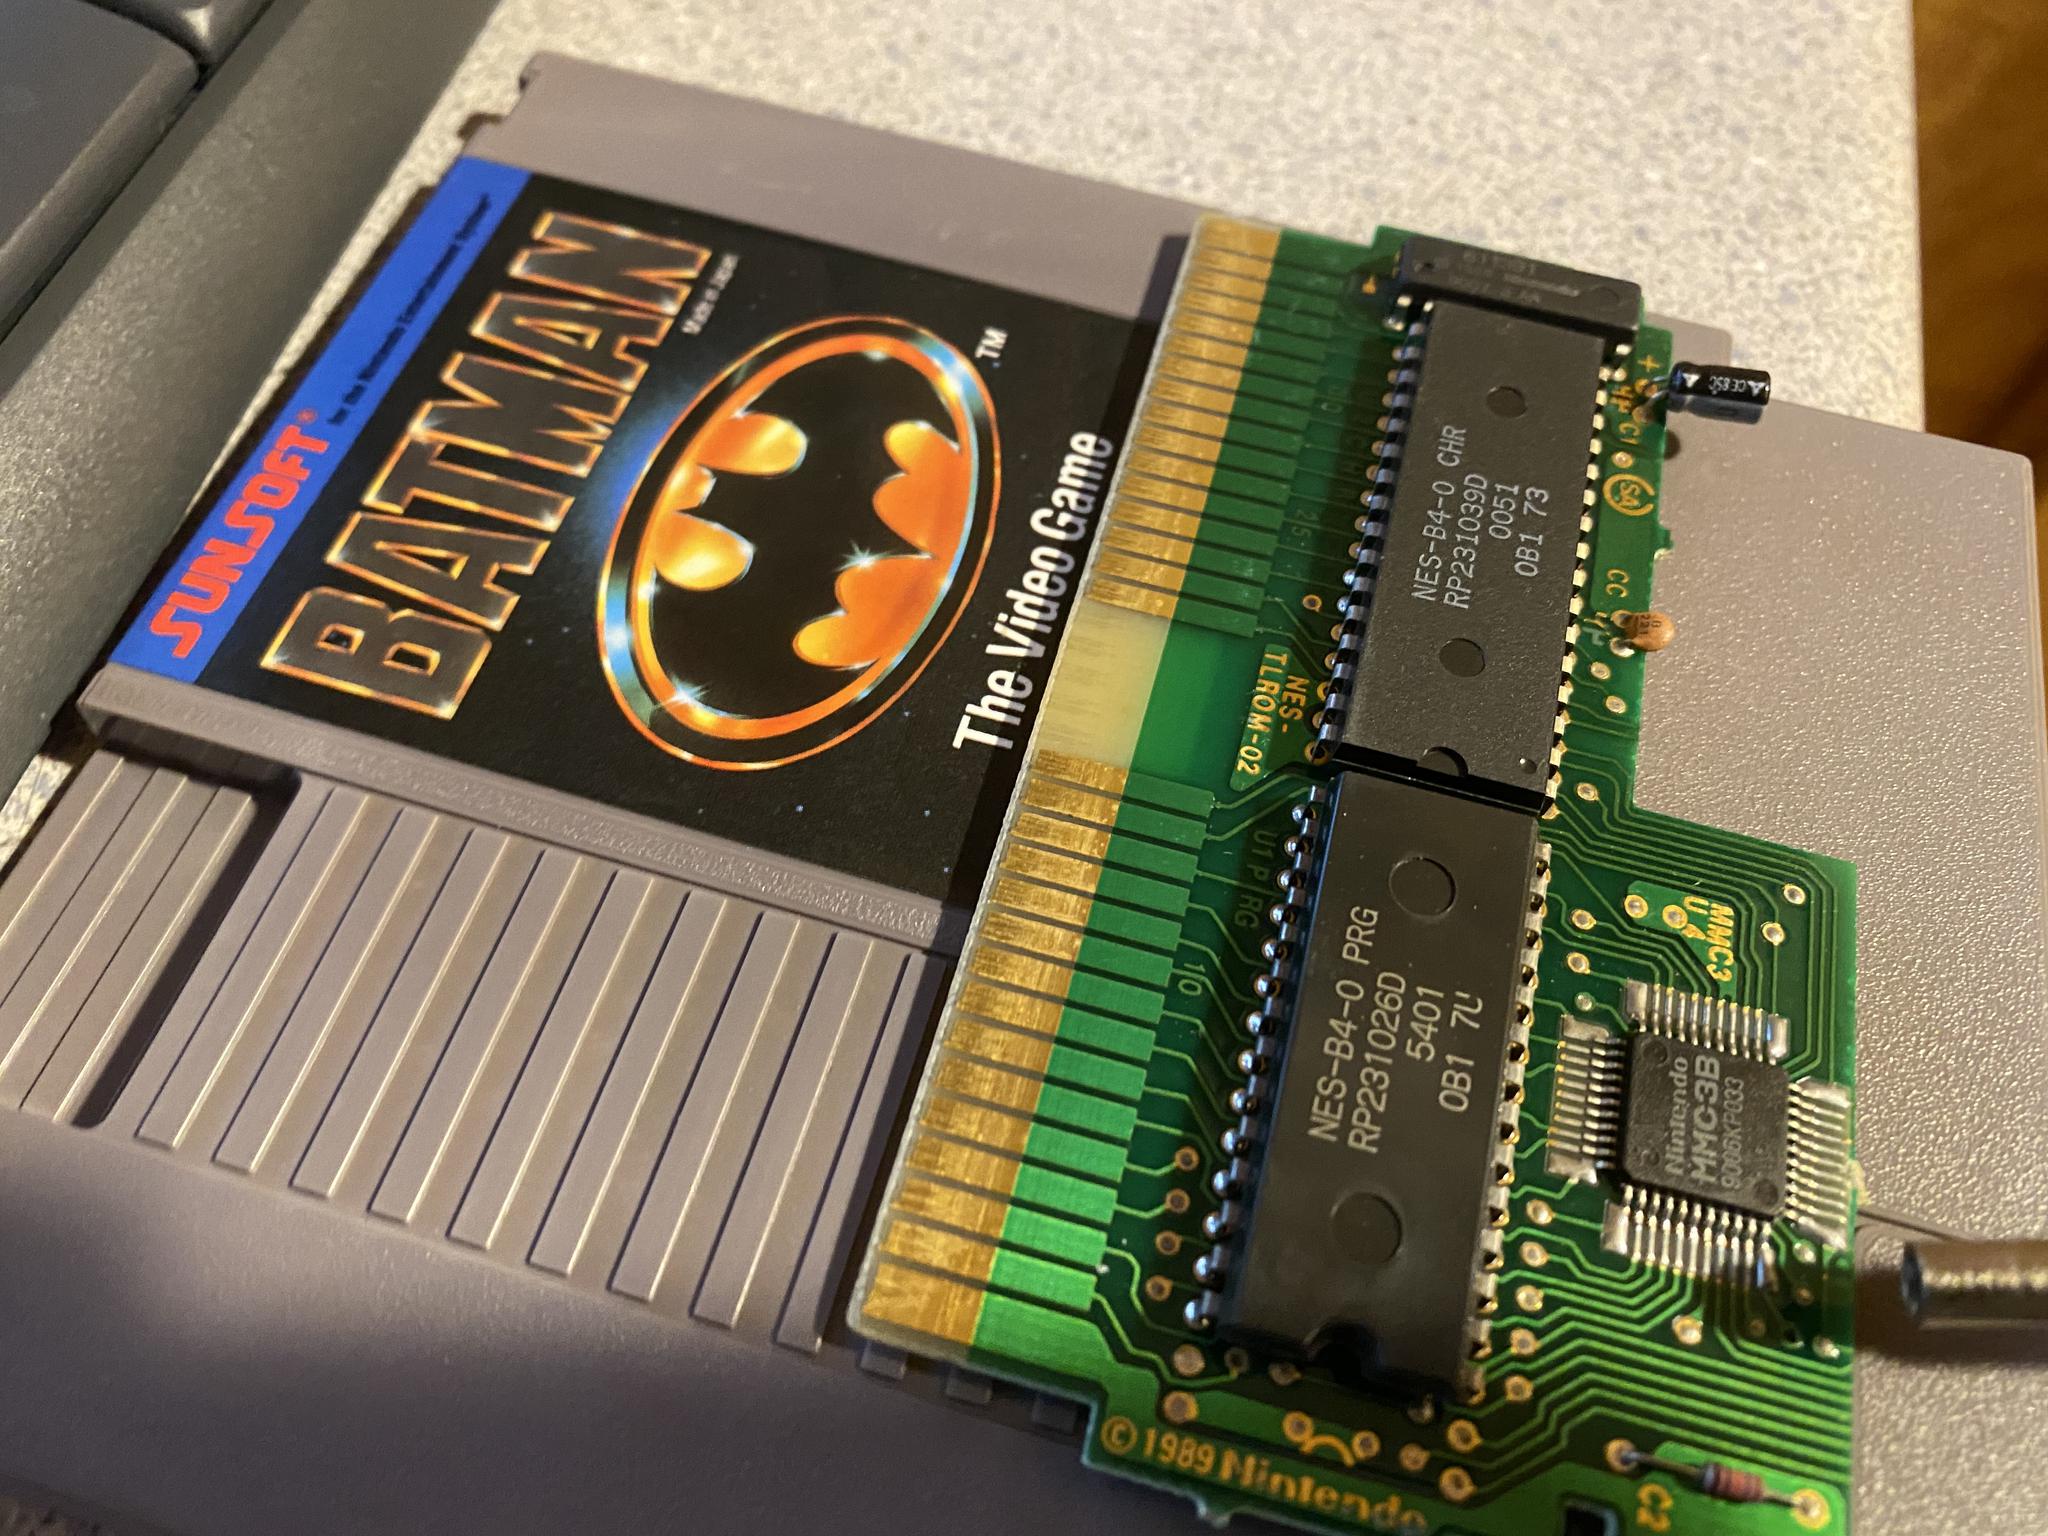
Most NES cartridges will display the mapper and ROM type right on the board, and a quick google search on the chip numbers will tell you whether they are 128kb or 256kb, etc.
But who seriously wants to do that for an entire stack of NES games?
Thankfully, all of this work has been done for us.

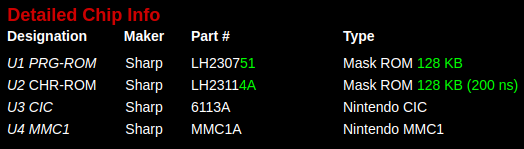
NesCartDB is one of several online databases that has done the work of collecting all of this data for us. Just look up the cartridge you want to dump and all of the information you need to accomplish that is yours.
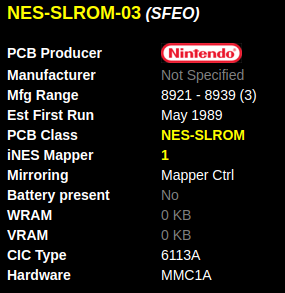
Keep this info handy, we are going to need it again soon.
Now that we can accurately see the mapper, ROM, and chip sets for all of our NES cartridges, we still have the challenge of extracting the ROMs.
This is where RetroStage saves the day. RetroStage sells the RetroBlaster, which is not only capable of extracting or dumping the ROMs from many of our favorite NES (as well as SNES, Genesis, and N64) cartridges but also allows you to make reproduction cartridges as well.
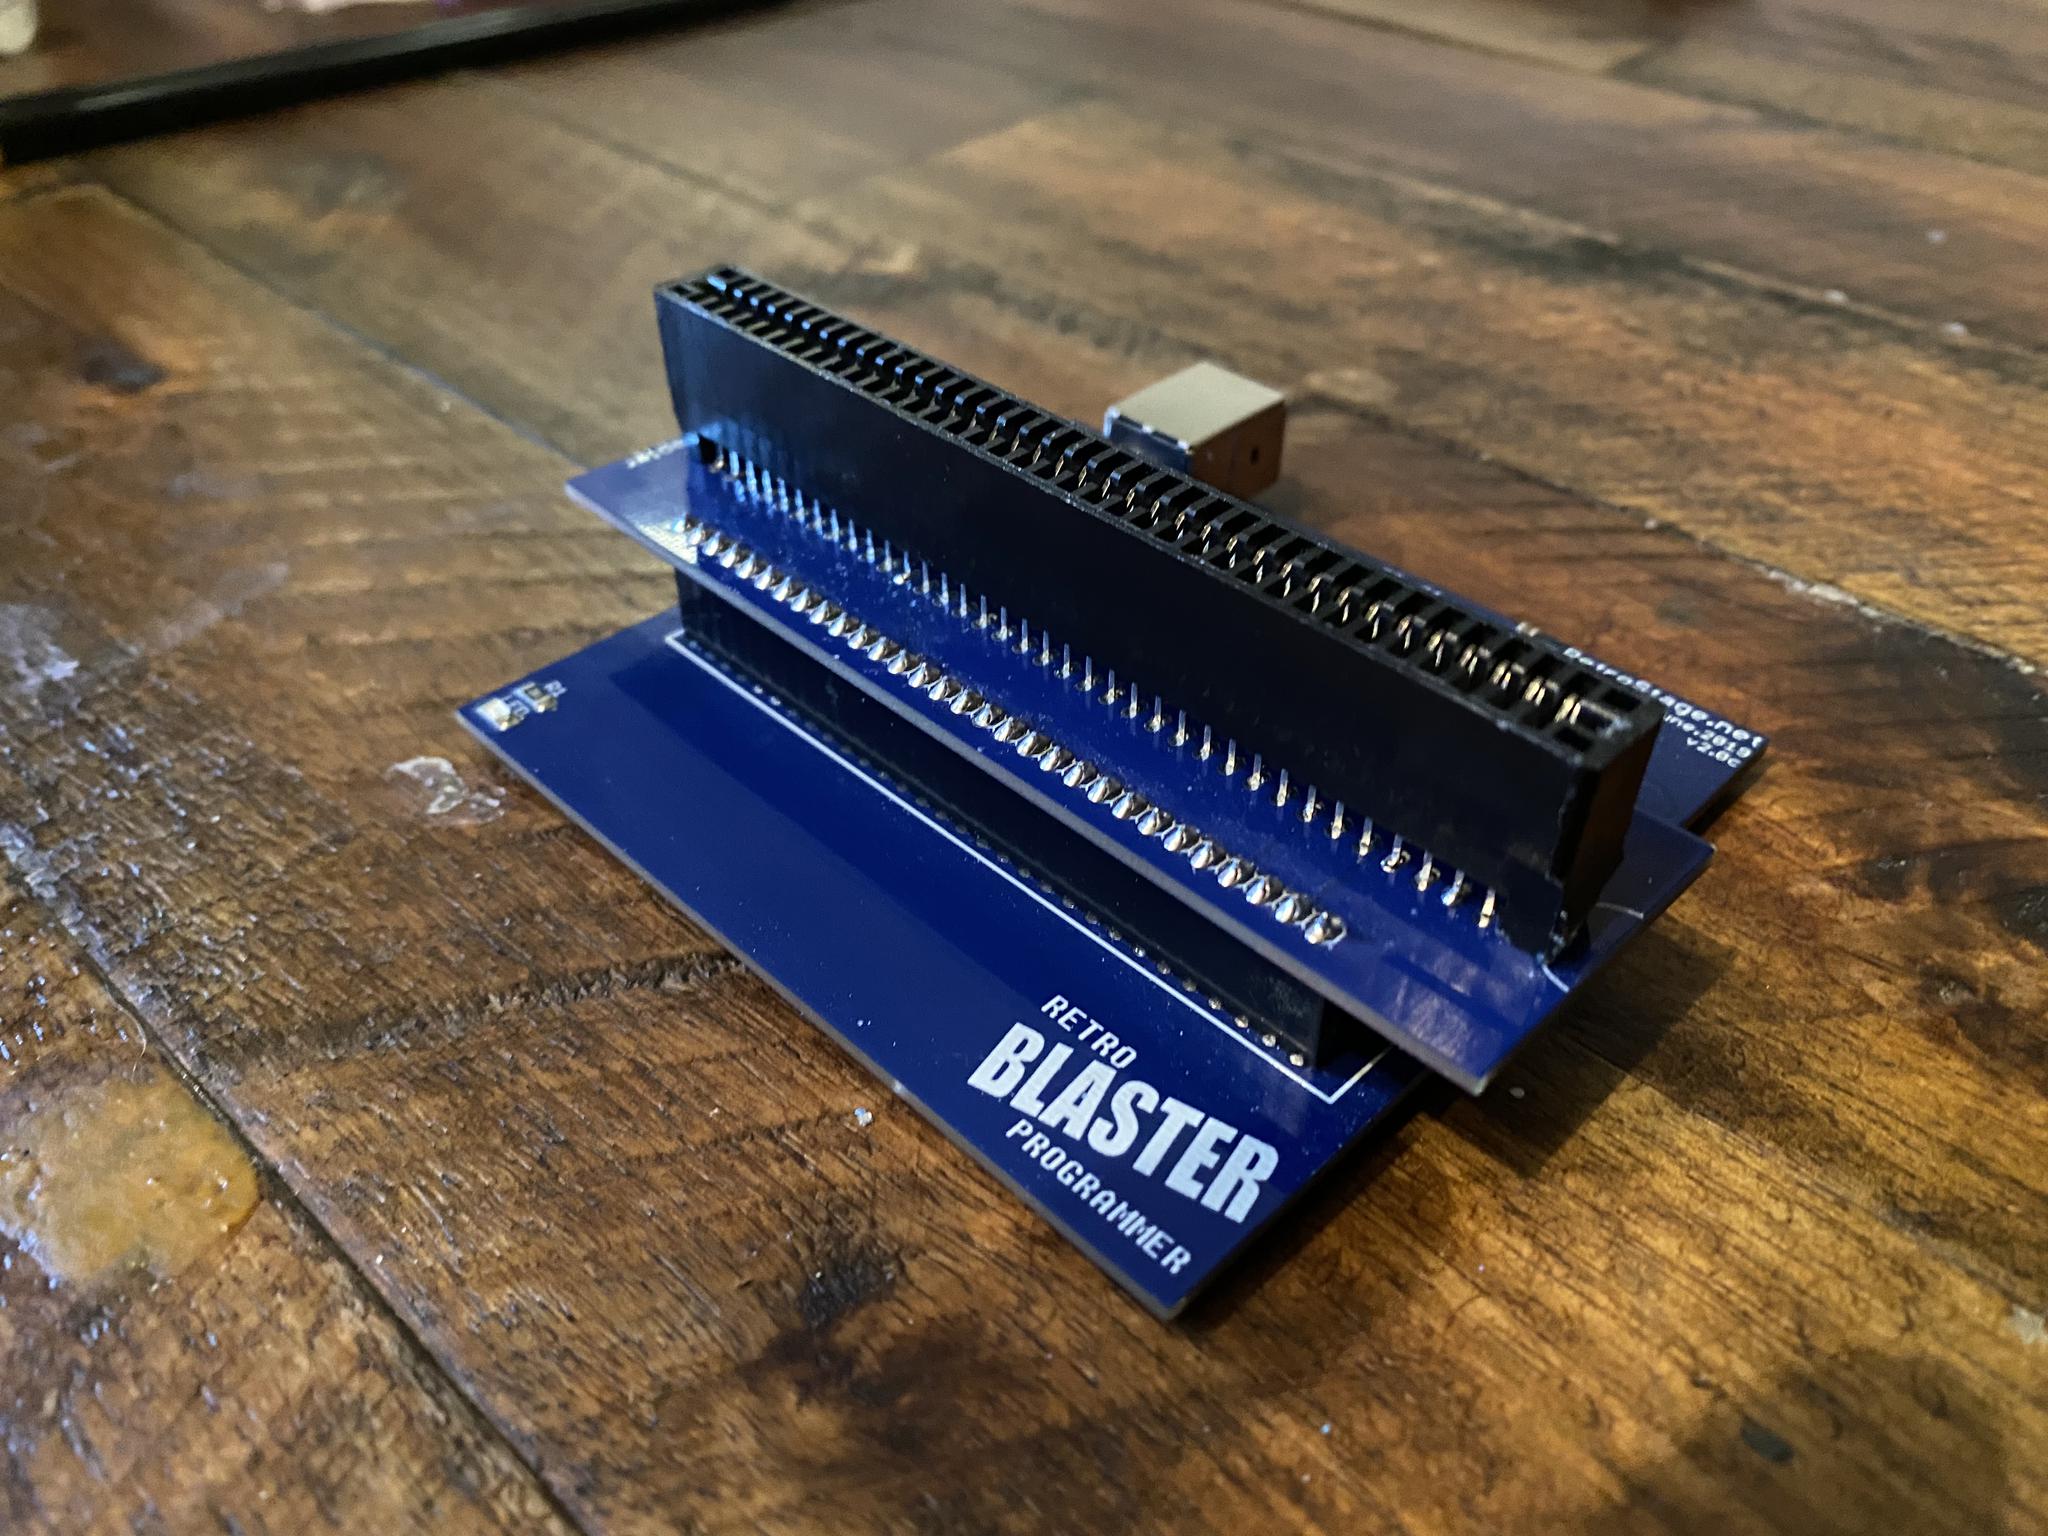
For this article, we are just focusing on extracting the ROMs from the games we already have.
Let's Make a ROM
After downloading the necessary software to your PC you are ready to open up the RetroBlaster Application.
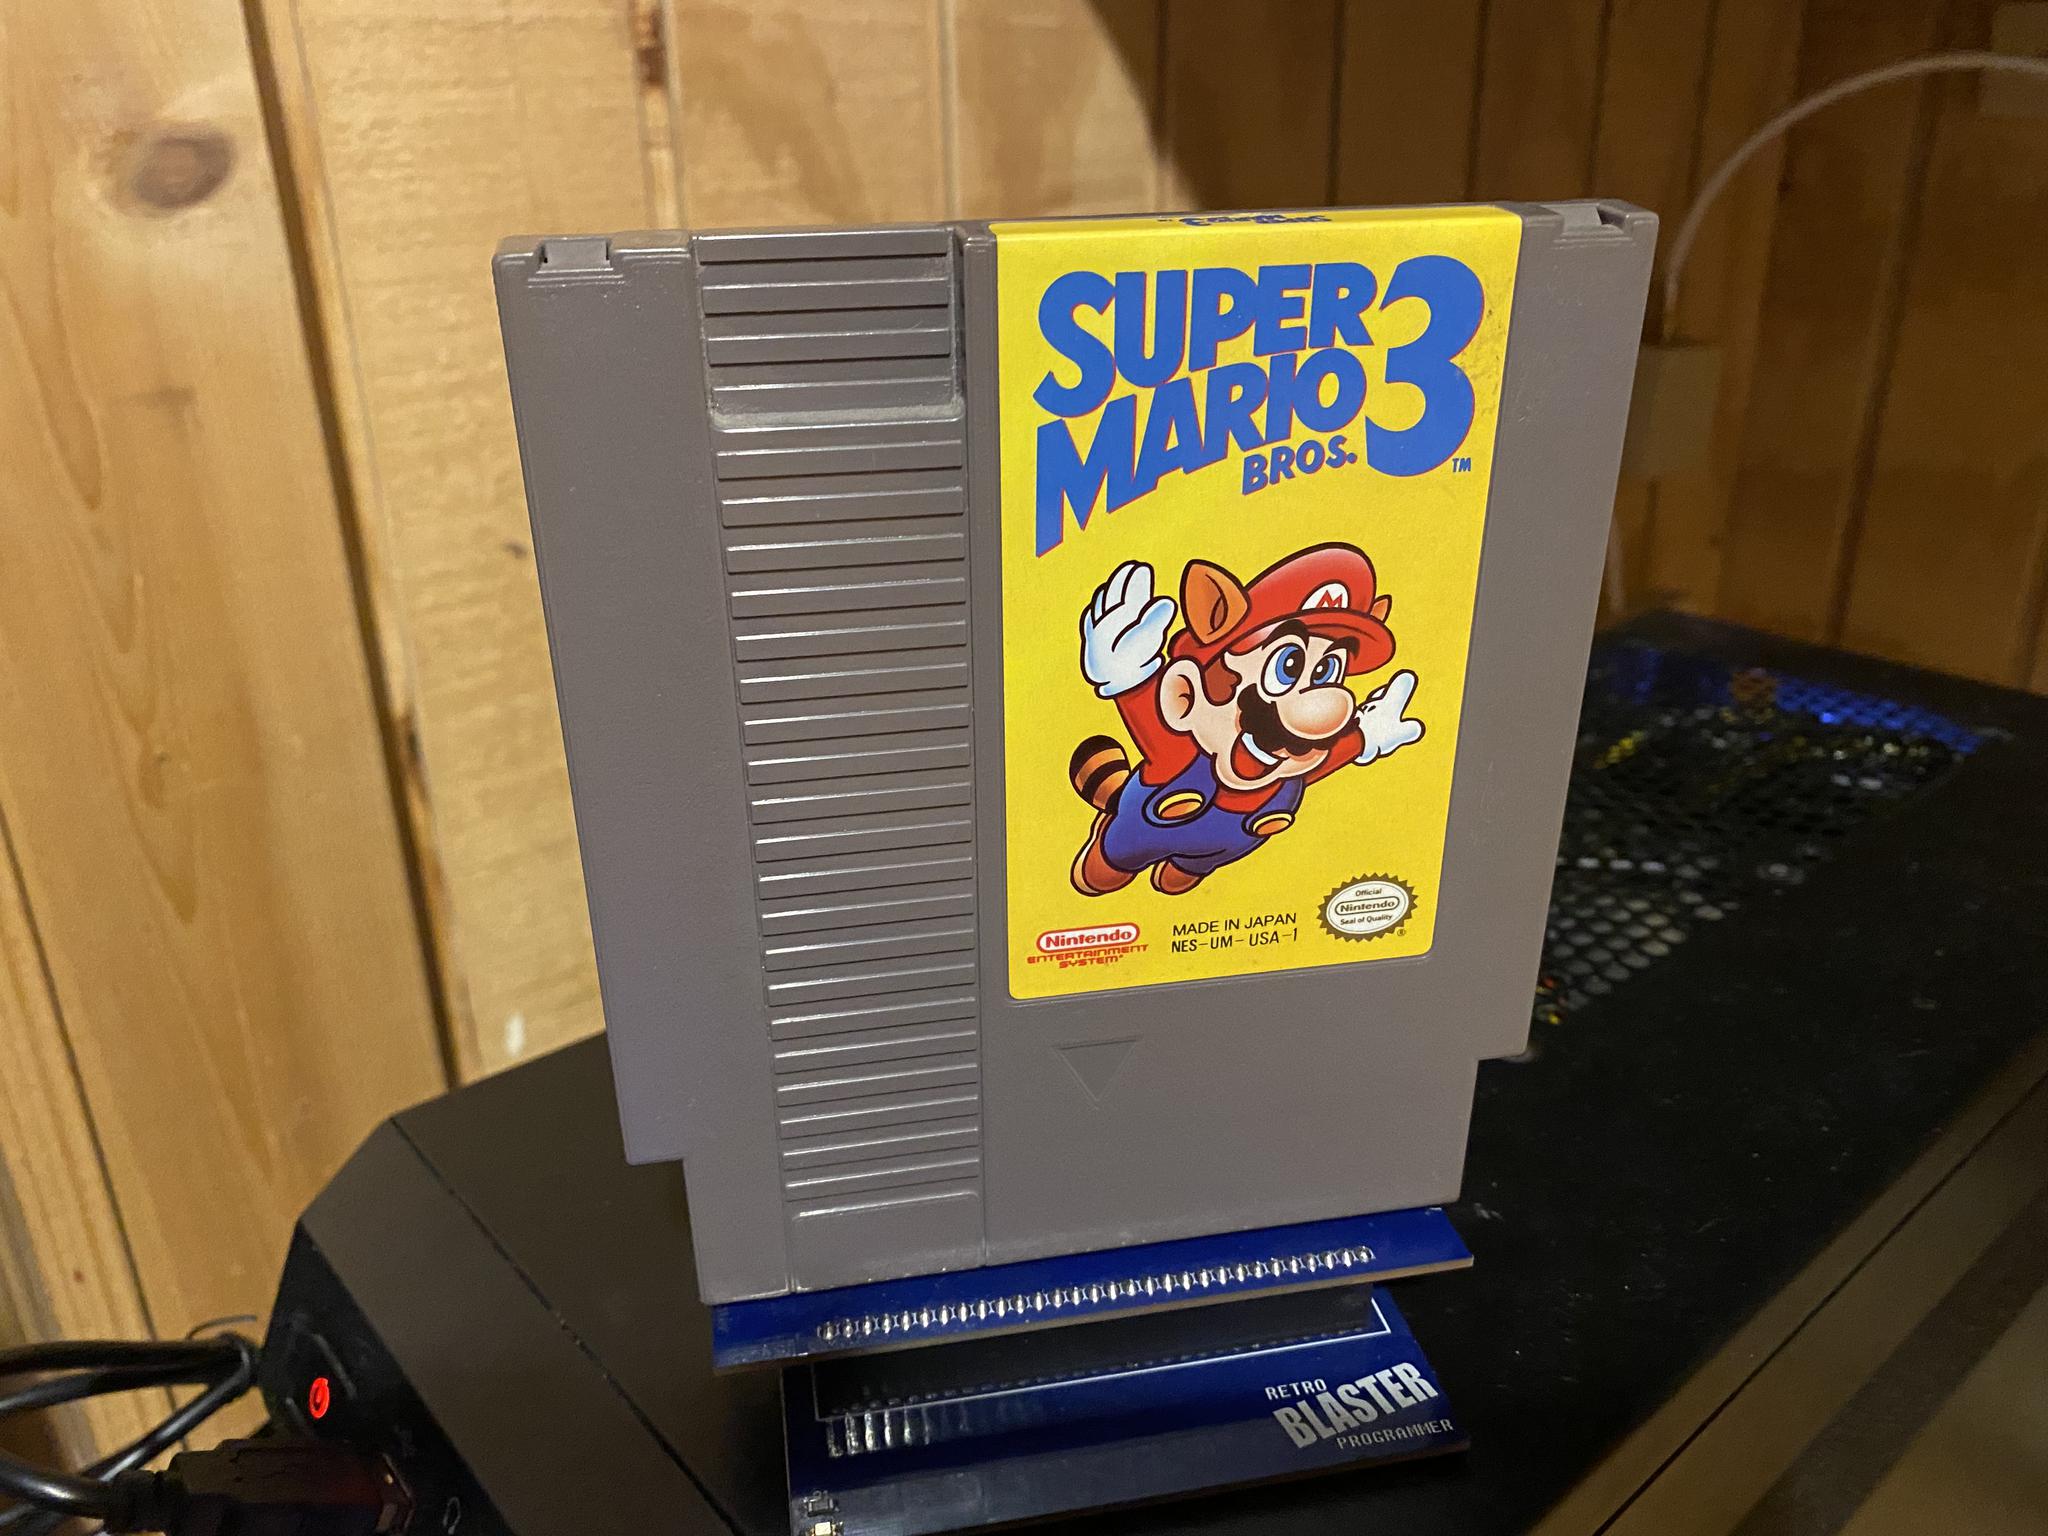
Plug your NES Cartridge into the RetroBlaster with the cartridge label facing the RetroBlaster logo.
The first thing you will want to do is select your Mapper Type.
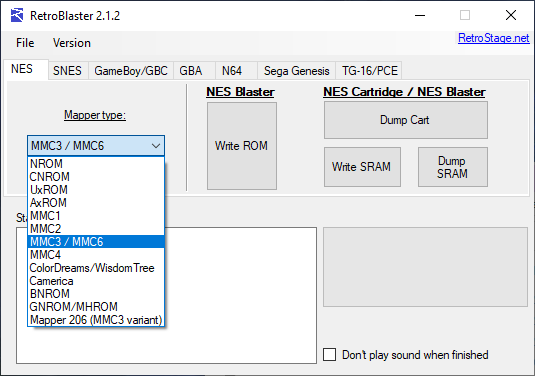
For this article, we will be extracting the ROM for Super Mario Bros. 3. This game, according to NesCartDB, uses MMC3 (pretty common for a lot of games made between 1989 and 1991.
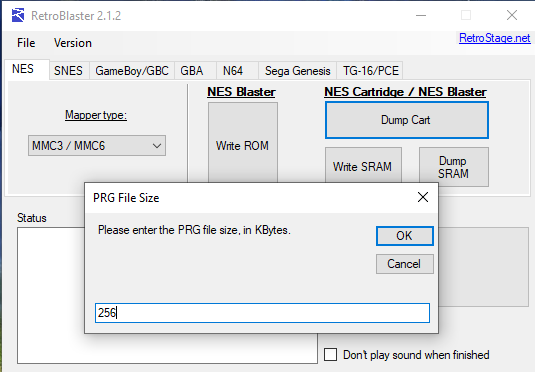
After selecting the mapper type you will want to select Dump Cart at which point you will be prompted to name your ROM and select where you want it to be stored on your PC.
At this point, the RetroBlaster Software will begin asking specific questions about your game based on the mapper you selected (remember you have all this info right in front of you on NesCartDB).
For Super Mario Bros. 3, which is MMC3, the software asks for the PRG size in kilobytes. NesCartDB says that this is 256kb.
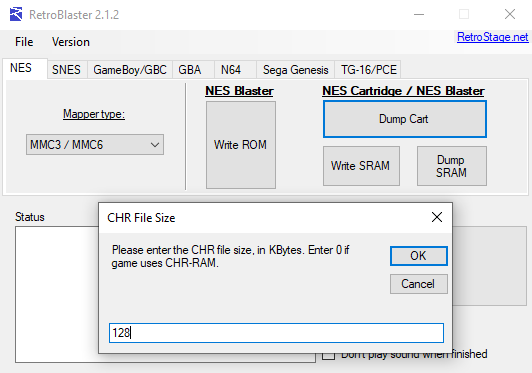
Next, the software asks for the CHR size in kilobytes which NesCartDB says is 128kb.
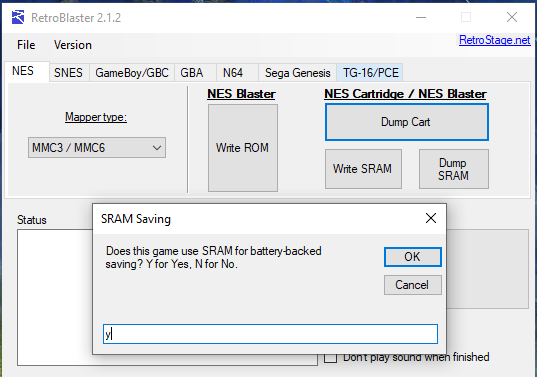
Finally, the software will ask if the game uses SRAM, and since Super Mario Bros. 3 does, the answer is "y" for yes.
The blaster will dump the cartridge and in 15 seconds you have created a ROM from your very own NES game that will work on your favorite emulator or a Raspberry Pi running RetroPie or Recalbox.
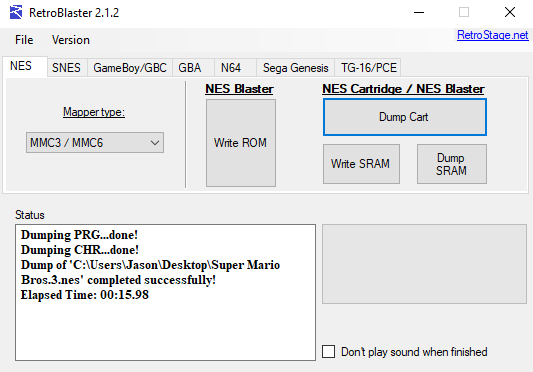
Victory!
That's it! You did it! Now you have everything you need to build your own retro video game compilation with all of the games you want.
Want to See More?
If you would like to see me testing the three ROMs I dumped to prepare for this article, check out the video below.
Want to see me extract the ROM from Super Mario Bros. 3? Click the video below.
Post a comment