Fire Up Your Pi
Booting for the First Time
So you have everything you need to build your retro gaming rig and have installed RetroPie to your micro sd card via the Raspberry Pi Imager. By now you should have gotten your hands on some ROMs as well.
So far so good, you’re doing great!
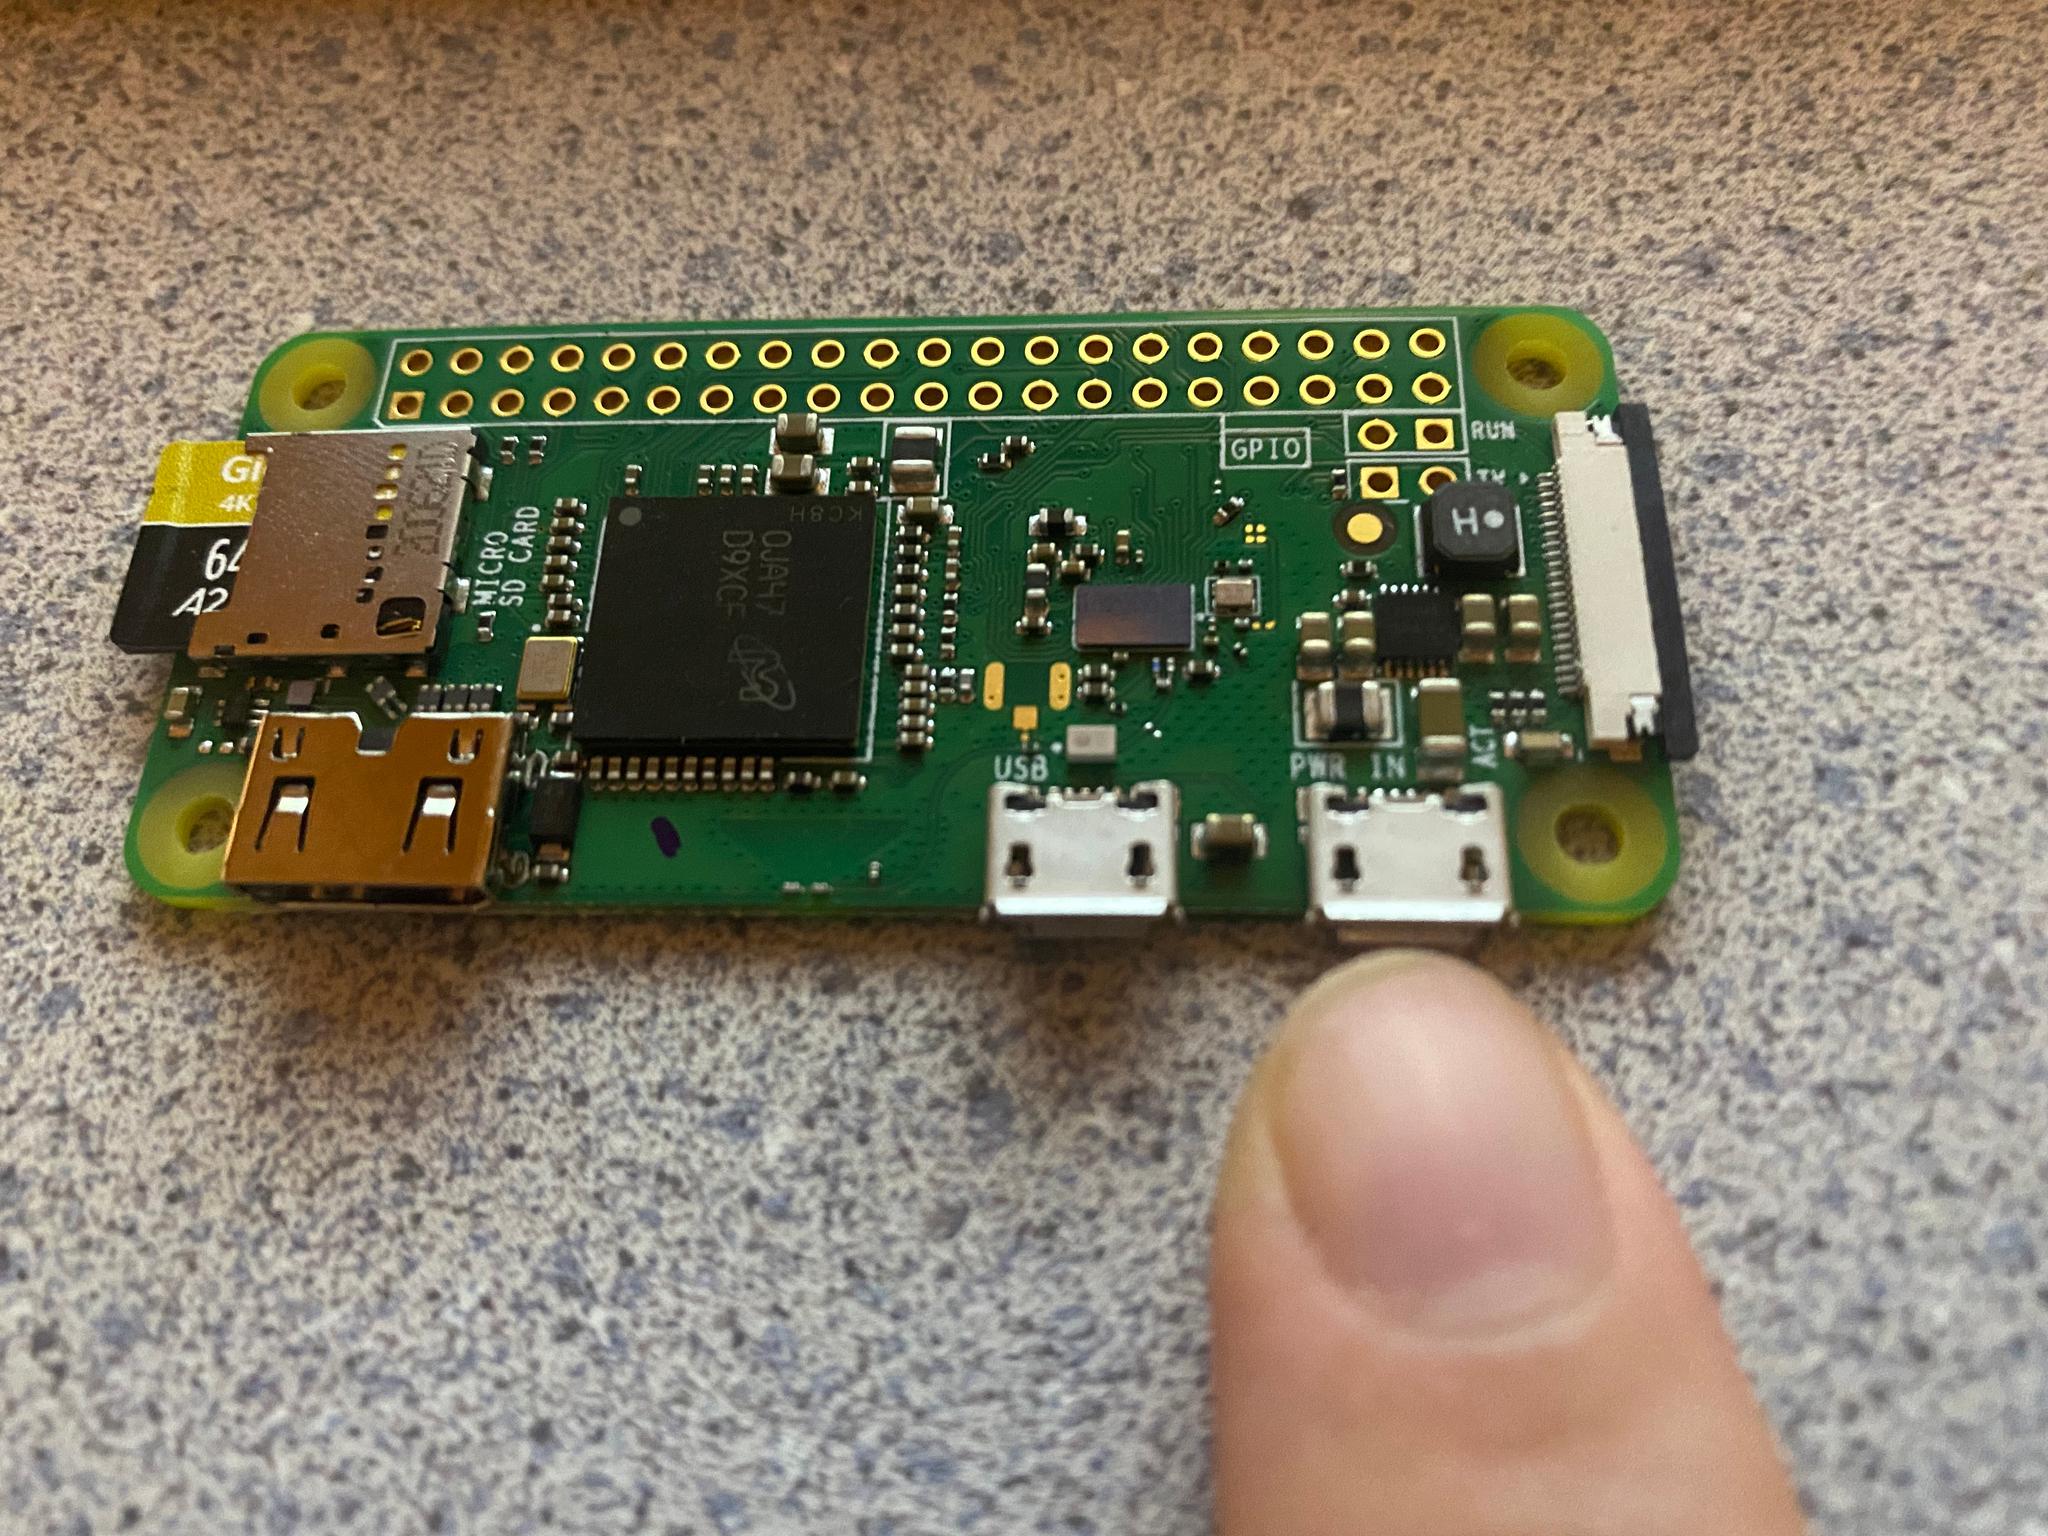
Now, insert your Micro SD card into your Raspberry Pi Zero W via the Micro SD card slot. Connect the mini HDMI to HDMI adapter, the micro USB to USB adapter as well as your controller, and the USB power supply.
Quick Note: Be sure that the power supply is plugged into the USB spot designated for “PWR IN” and not the one that says “USB.” If you have a case on your Pi it might be hard to determine which is which. Just remember if all of your Pi’s ports are facing you that the power supply goes on the right USB terminal. If you mix these up it won’t damage your Pi, but your controller will not respond until you correct this. Again, I speak from experience.
Controller Configuration
The first time you boot up RetroPie it will take a few minutes to set up. Just go grab another cup of coffee and relax until you are prompted with a white box that says:
“Welcome - No Gamepads Detected - Hold A Button on Your Device to Configure It.”
The Controller Configuration of RetroPie is laid out with the face buttons (Start - Select - A - B - X - Y) being equivalent to the Super Nintendo controller. Xbox 360 and Xbox One Controllers have flipped the positions of the A and B as well as the X and Y buttons.
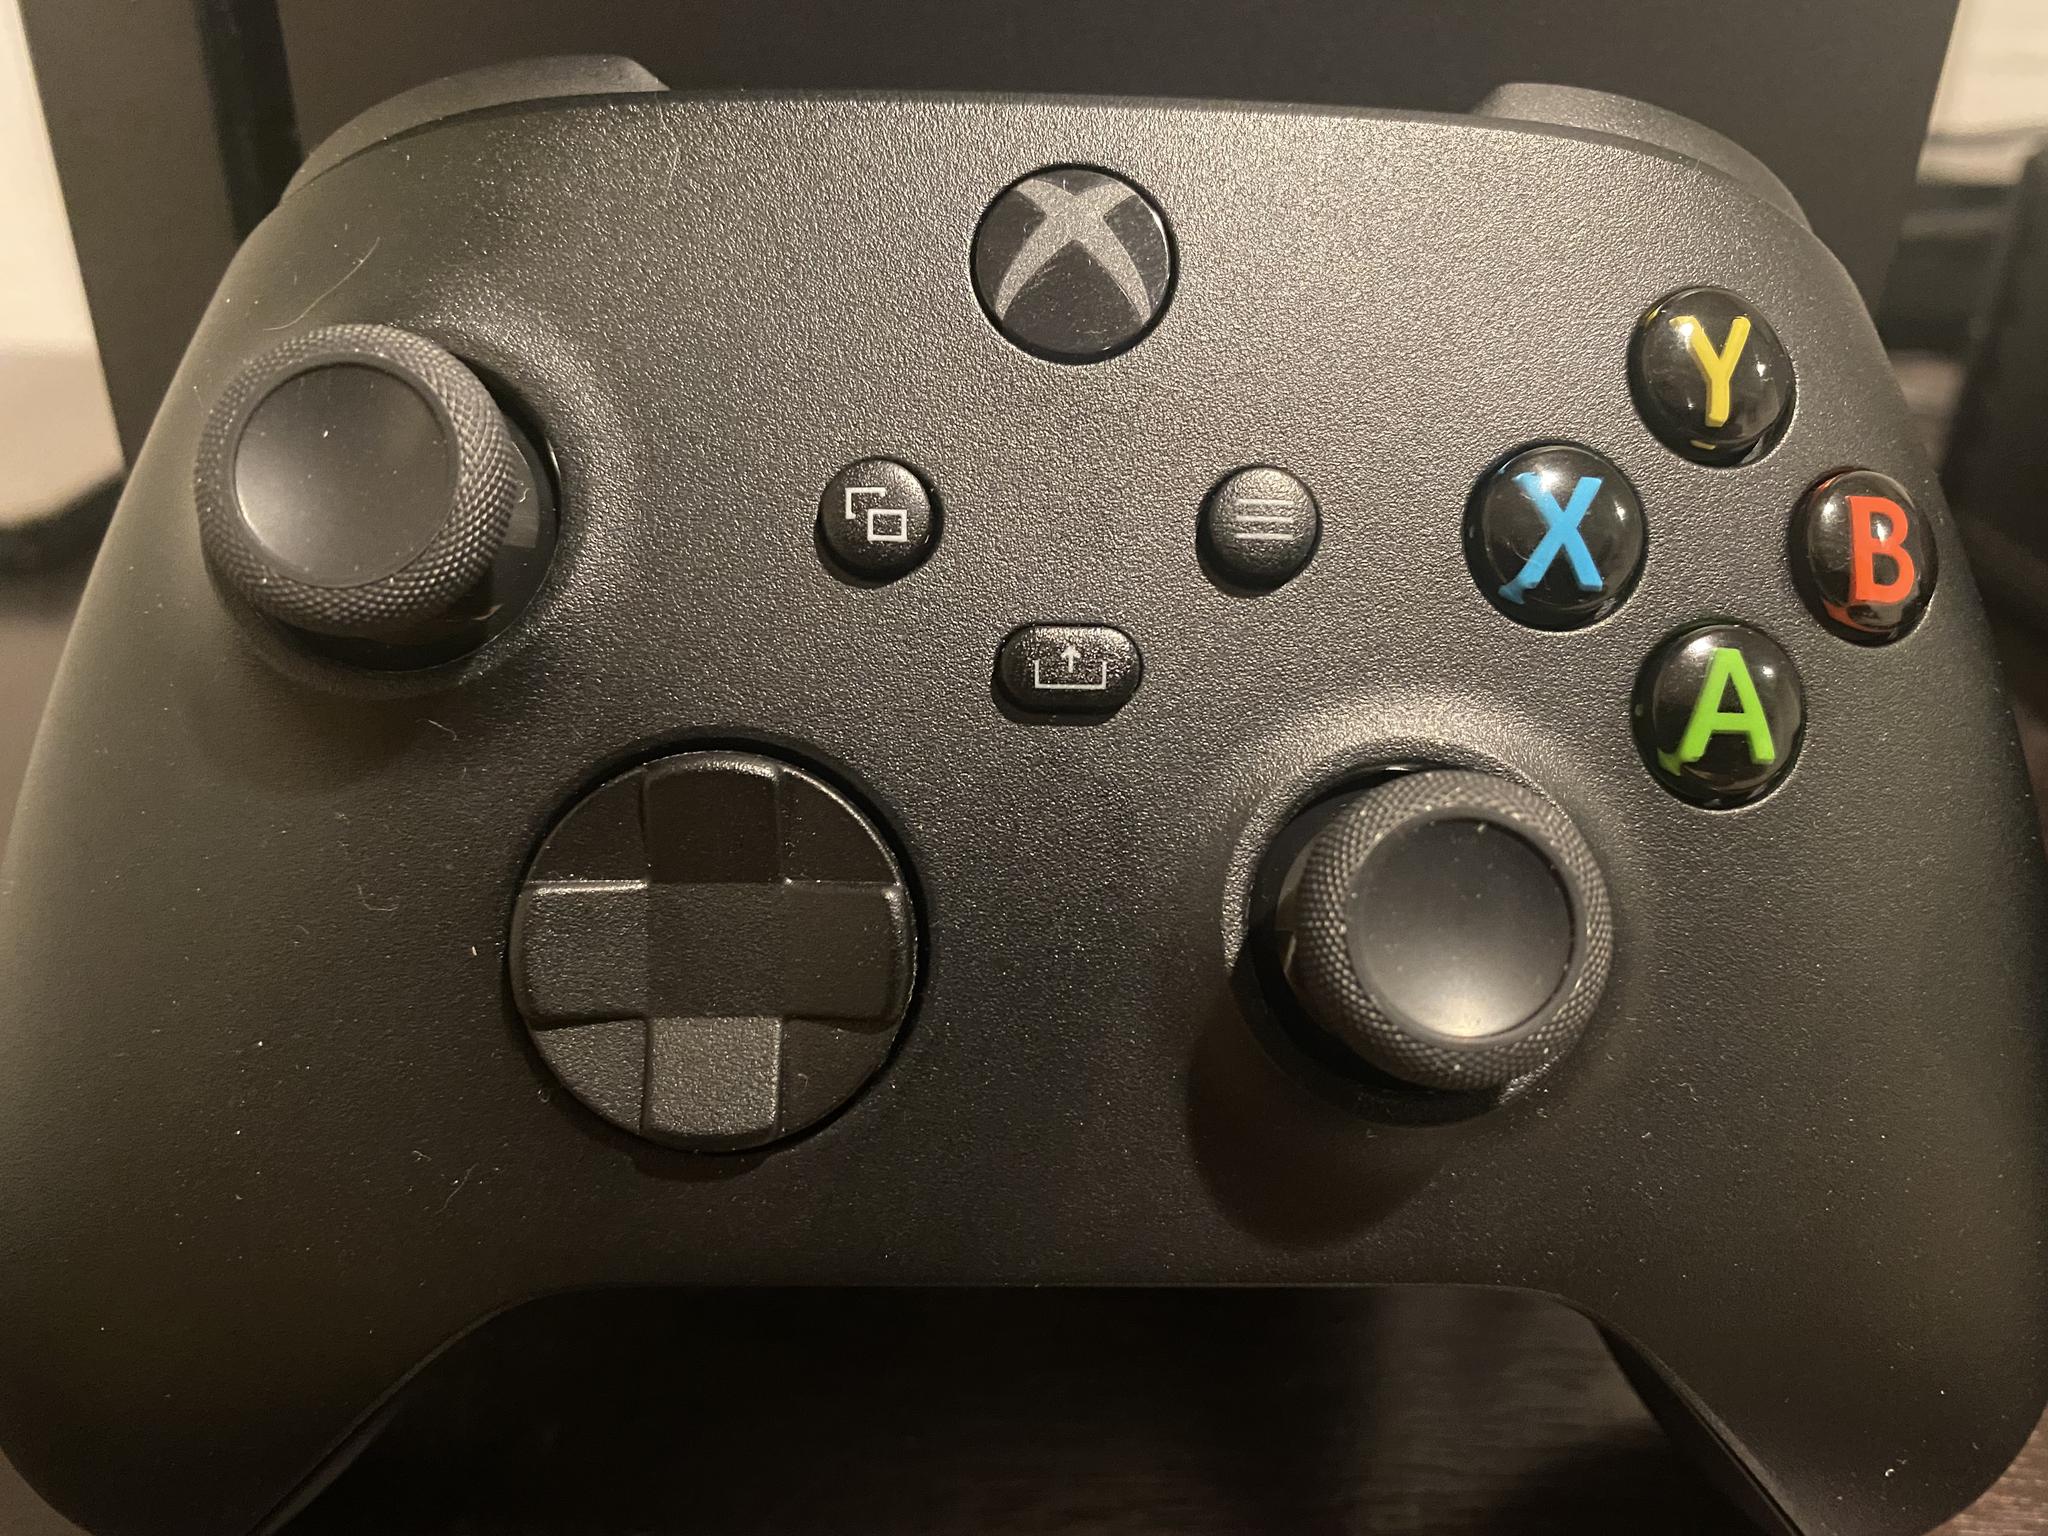
So if you are using a modern Xbox Style controller for Windows (and this goes for the generic versions as well) you’ll just want to ignore what is on the controller and map your configuration like the diagram below.

If you are using the NES style controller that only has a Start - Select - A - B - and a directional pad, simply program the buttons that are there and then hold any button down to skip each button after that until you are prompted to assign a hotkey.

Typically speaking, no matter what controller you decide to use, it is advisable to assign the “Select” button to be your hotkey since the button combination for quitting a game in RetroPie is to press the Start + Select buttons simultaneously.
Give the Pi about ten seconds or so (it hasn’t crashed if it's unresponsive, it just takes a minute) to save your inputs and you are all set!
Victory!
Congratulations! You have just built and set up your very own Retro Video Game Console! Take a moment to sit back and celebrate your achievement, but only a moment because we still aren’t quite finished. We still have to add our ROMs, which we will do in the next article.
This article was written and published on a Raspberry Pi 4B 8 GB Model.
Post a comment